Building a Set of Fowling Lanes
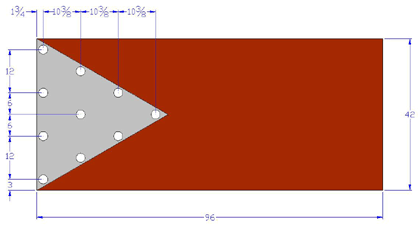 Building a set of Traditional Fowling Lanes is extremely easy for either the novice or pro carpenter. You basically buy two 1/2", 4' x 8' sheets of plywood, have them ripped lengthwise by the folks at Home Depot, to cut them down to the required 42" width and then build a frame of 2x4's underneath the plywood. When the assembly is complete, paint the fowling lanes in your favorite team colors, and use the drawing below to establish the triangular bowling pin placement pattern. If laid out correctly, each bowling pin should be exactly 12" from all adjacent pins from center to center.
It typically takes about a weekend to complete the project, including cutting the wood, assembling the lanes, and painting the finished assembly. We recommend drilling a small hole in the center of each 2 1/4" circle of the bowling pin placement pattern so you don't lose the bowling pin position the next time you need to repaint the lanes, but that's basically it. Build and assemble two sets of Fowling lanes and you're good to go.
Each team alternates throwing the football at their opponent's bowling pins, which are setup on a Fowling lane in the standard 10-pin bowling configuration at a distance of 48 feet. Players for each team also alternate throws. Play continues, until one team has knocked down all ten pins resulting in a frame victory. Fowling matches are a best of three frame series to win the match.
Optimized for Travel
 The
main issue you'll have with traditional fowling lanes is the excessive size and weight of these over-sized playing surfaces. Using 1/2" plywood along with 2x4 framing, builds you a fowling lane that weighs
nearly 75 lbs and becomes very cumbersome to move from tailgate to
tailgate. Attempting to coordinate the movement of a full set of fowling lanes, including 20 bowling pins
and a couple of regulation NFL footballs to and from the stadium on game day can be an overwhelming challenge.
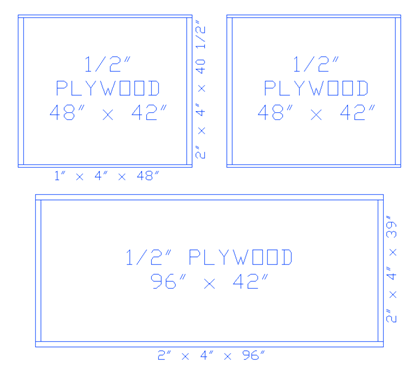
Our recommendation is to build a more civilized set of fowling lanes that's optimized for travel. Cutting each fowling lane into two 42"x 48" sections will make them more manageable both in weight and in dimension. We recommend going with a 1/2" plywood top and a set of 1x4's along the longer dimension of the fowling lane instead of the 2x4's. This will provide some weight reduction without compromising strength.
Connect the two-part fowling lane with a set of latches and you're good
to go.
The main advantage of this half-sized lane design is
that it makes your playing surface much easier to transport without
compromising the integrity of the lane. Building the fowling lanes in this manner results in a more manageable set of 42" x 48" parts each weighing in at about 40 lbs.
The reduced size and weight makes moving this set a one-man
operation, as each piece of the fowling lane can be moved with relative
ease.
Step by Step Build Instructions
The following photos illustrate step by step instructions for build of the two-piece 42" x 48" Fowling Lanes as described in the Optimized for Travel section above. The photos below detail the assembly of each 42" x 48" half-lane. To make a complete set of Fowling Lanes, follow these steps to build four separate half-lanes and connect them with a set of latches for Regulation Fowling Play.
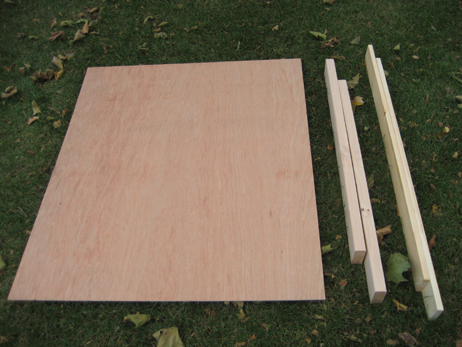
Step 1: Gather one 1/2" plywood sheet (42" x 48"), two 2x4's (40.5") and two 1x4's (48")
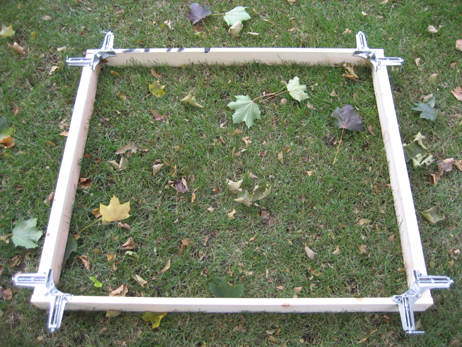
Step 2: Use corner clamps to attach the framework. Then drill pilot holes and run wood screws into the 2x4's at each corner
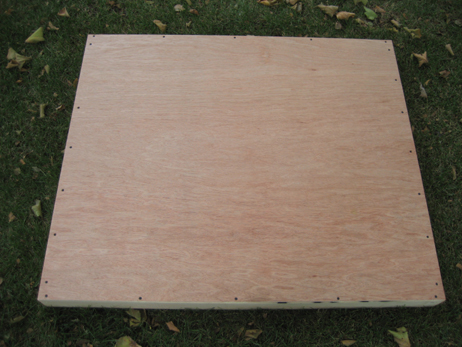
Step 3: Fasten the 1/2" plywood to the fame using wood glue and run several evenly spaced self-tapping dry wall screws into the frame.
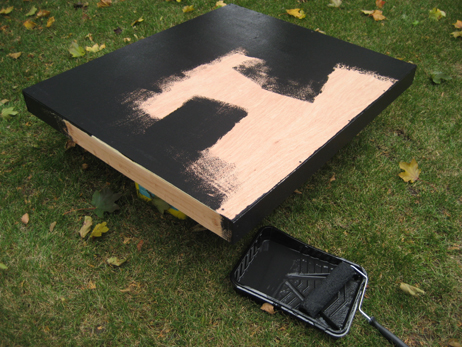
Step 4: Paint each half lane with a base coat of your primary color.
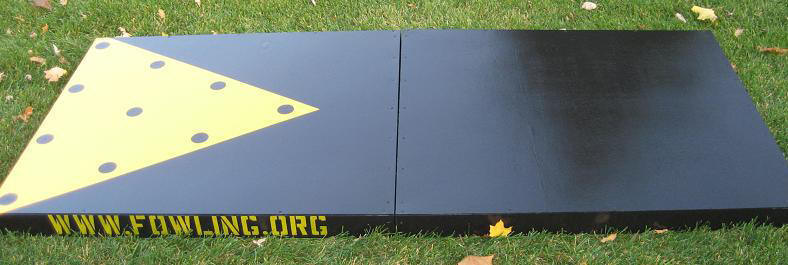
Step 5: Complete your fowling lane by painting in the triangular bowling pin placement pattern.